Fun facts about the Equicizer:
- Frankie builds the Equicizer in sets of 4 at a time.
- A set of 4 Equicizers take a little over 2 weeks to complete from start to finish - with no hiccups! - when they are then ready to be sent out the door to their new owners. This amounts to 6-8 Equicizers built a month, which allows for roughly 72-96 Equicizers to be built per year.
- To date, Frankie has built over 1,170 Equicizers which have shipped all over the world.
The Building Process
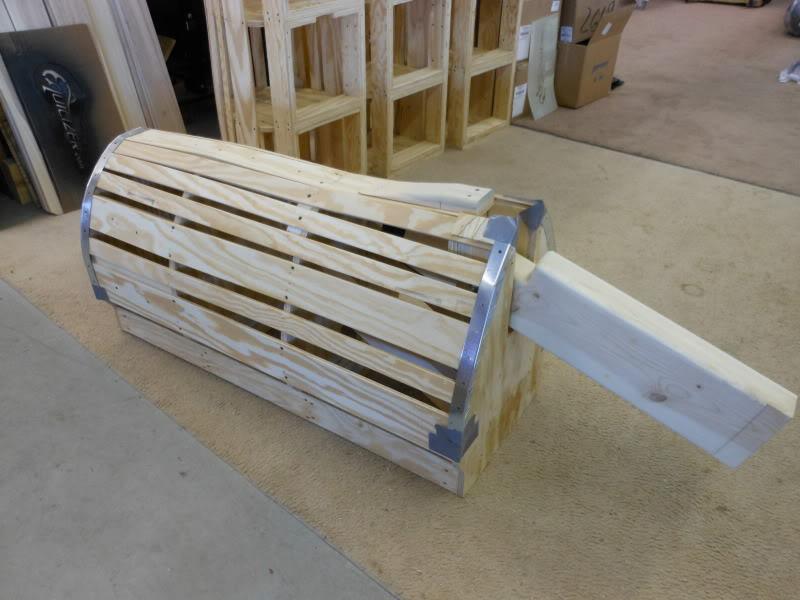
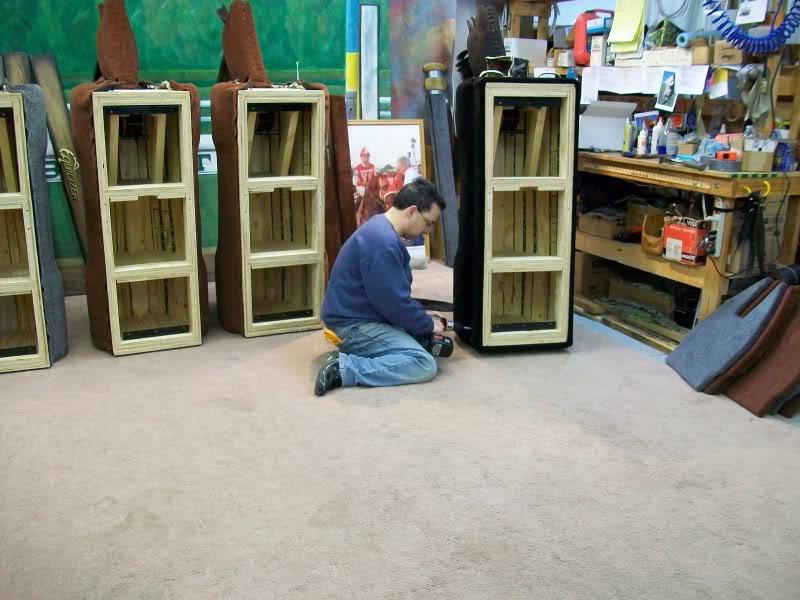
The outer shell of the Equicizer is built similar to the hull of a boat, structurally able to withstand significant weight and pressure that support the mechanics and array of hardware that will be placed inside, along with the rider. This picture gives only a small view of the design that is behind and makes up this outer shell.

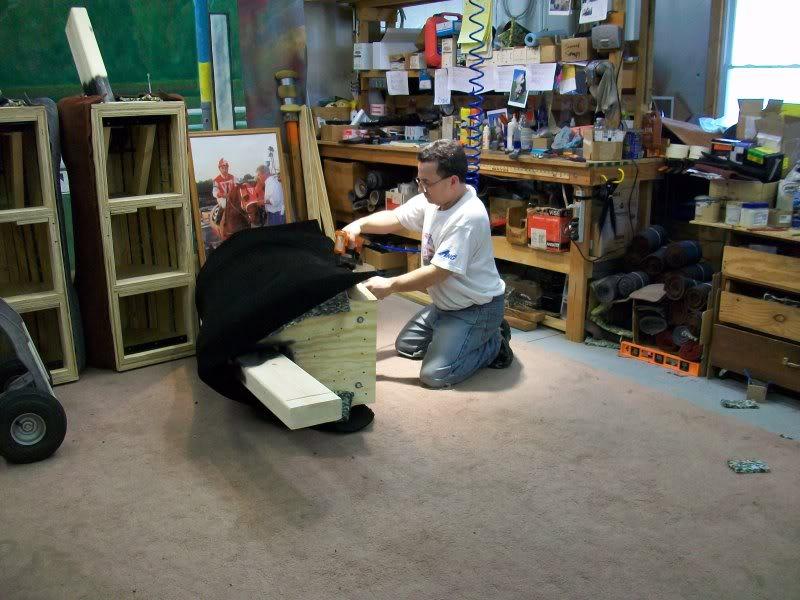
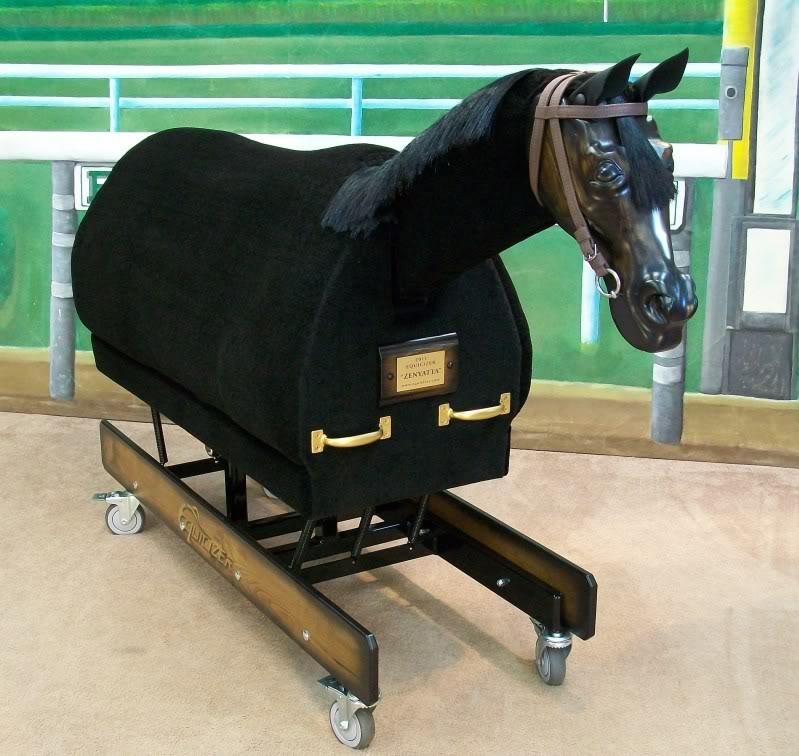
The Equicizer shell is first padded and then carpeted, according to the color the customer ordered.
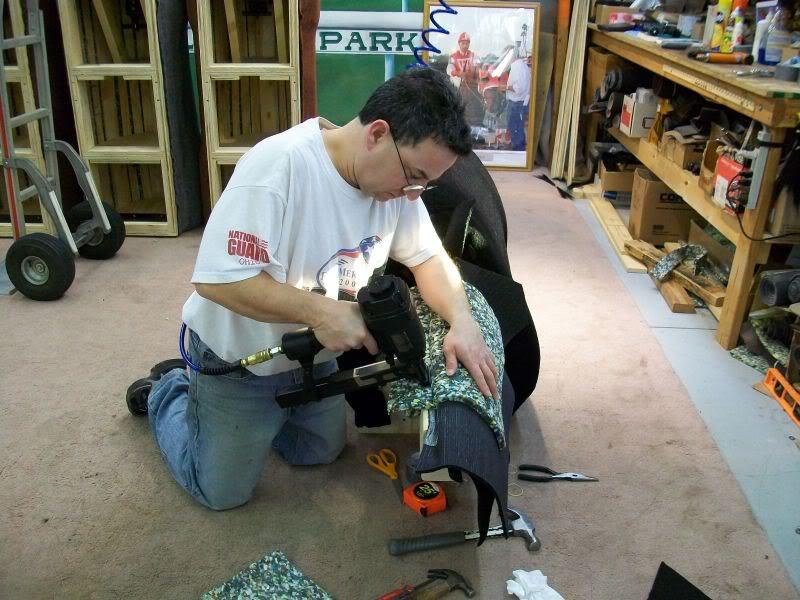
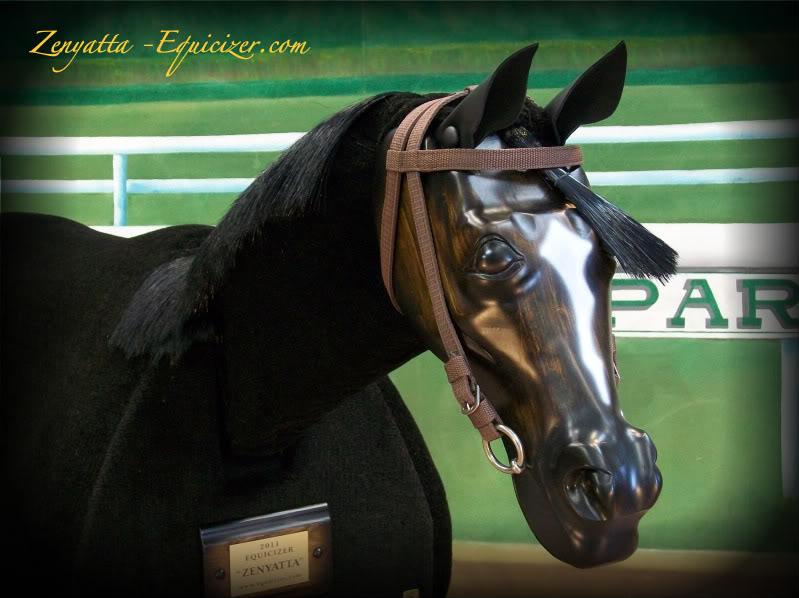
The neck is covered and the mane is put on.

The tail, handles, back and side panels are also placed on.
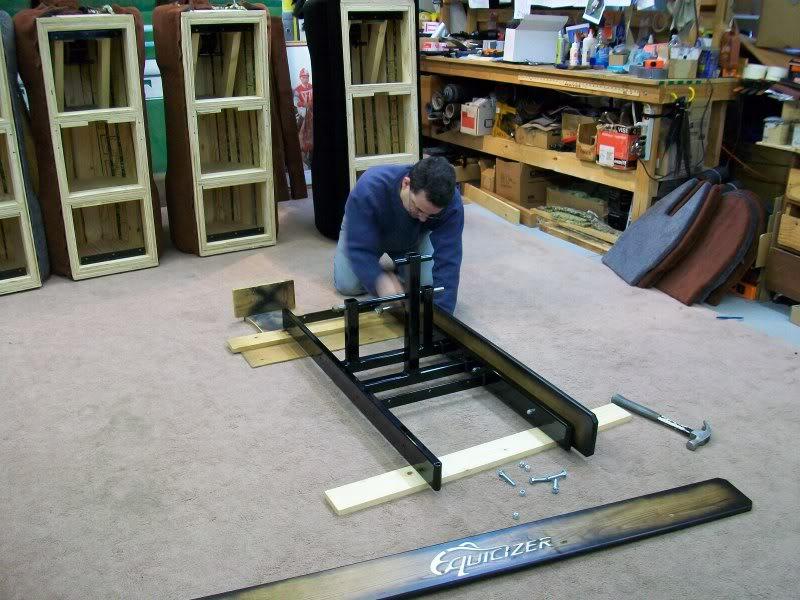
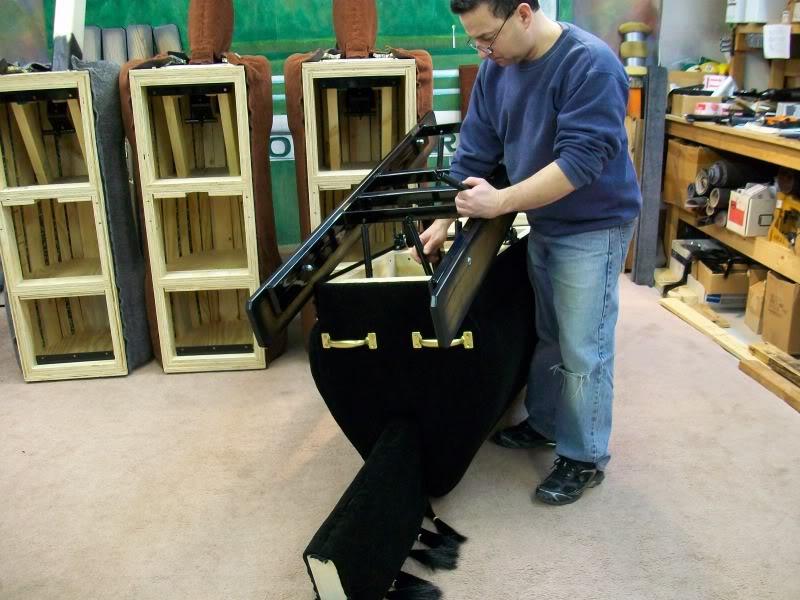
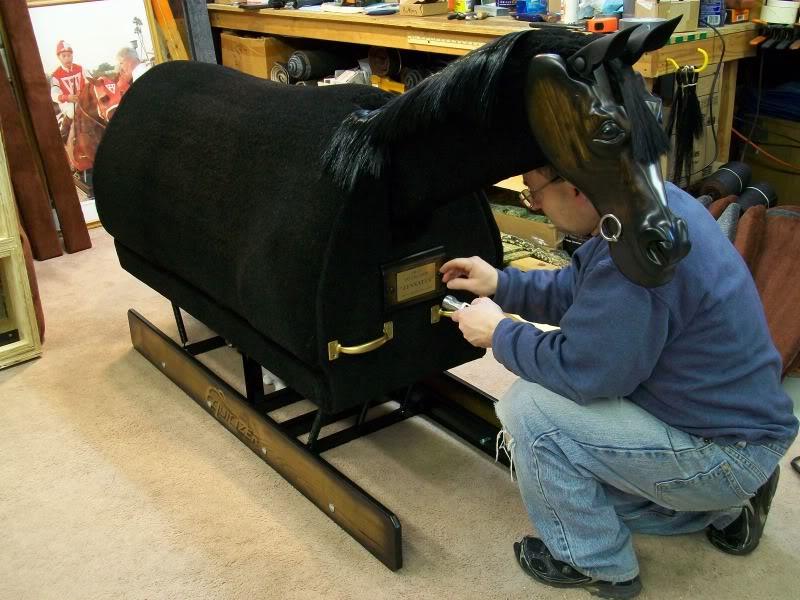
For the Elites, the wooden side rails are attached to the base frame. The Classics do not have this additional detail. Then the frame is secured to the body of the Equicizer and the rest of the hardware is placed inside.
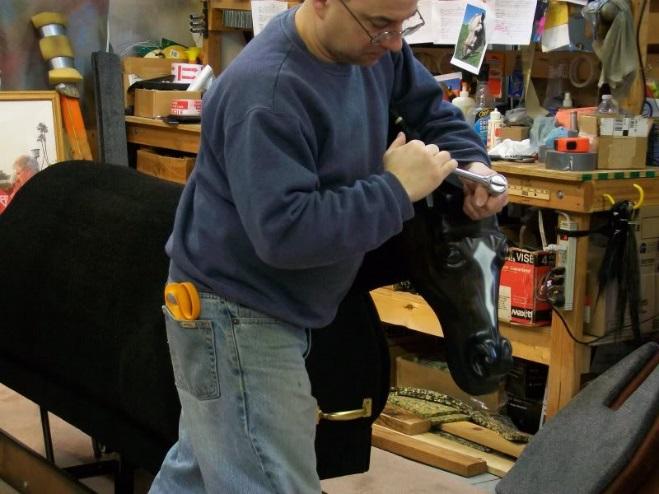
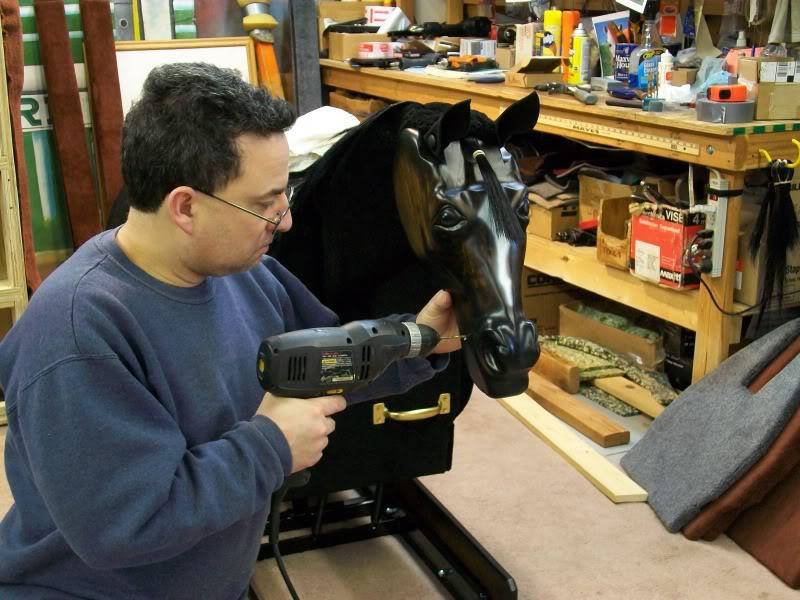
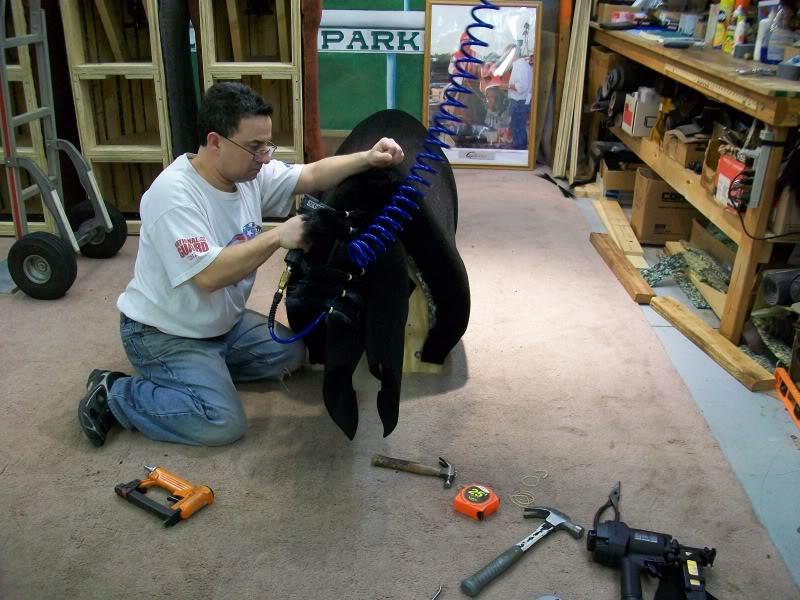
Once the head is secured onto the body of the Equicizer, holes are drilled for the bridle.
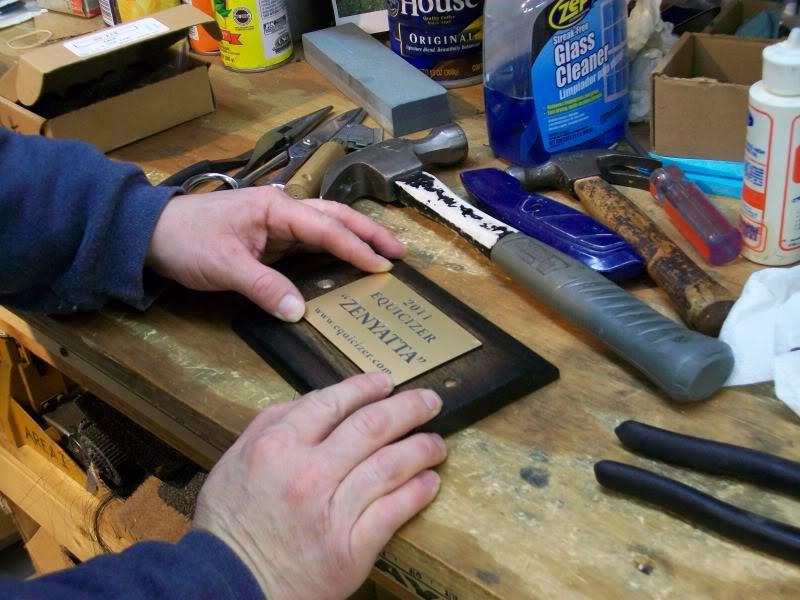
The nameplate is secured and the finishing touches are all that’s left!
These are only a handful of the steps involved in making an Equicizer. There are dozens of other steps taken before the Equicizer is actually complete but this should give you a rough idea of what’s involved in building an Equicizer. In next week’s blog, we’ll take a look at the packaging process!
No comments:
Post a Comment