
Fun fact about the Equicizer:
- Creator and builder, Frankie Lovato, builds each Equicizer himself, by hand. To hire people for the various jobs involved in the creation of an Equicizer as is, would be too costly due to the multitude of specialized skills needed!
The Head Carving Process
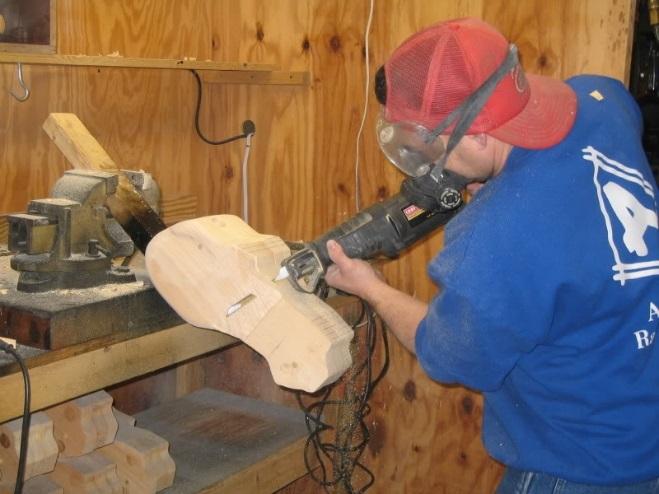
The first step in building an Equicizer is carving and painting the faces. These photos will give you a glimpse into that process:
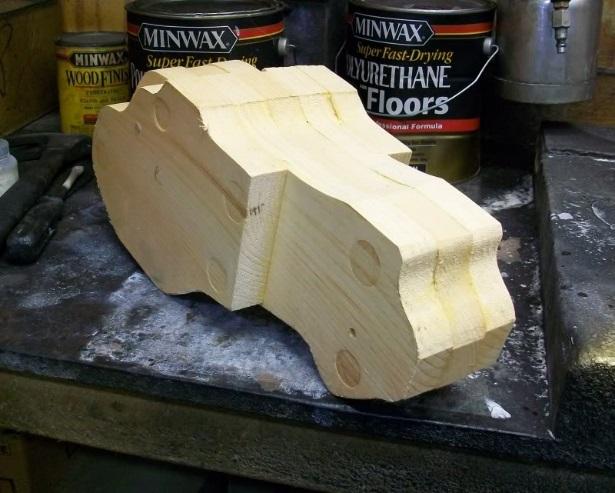
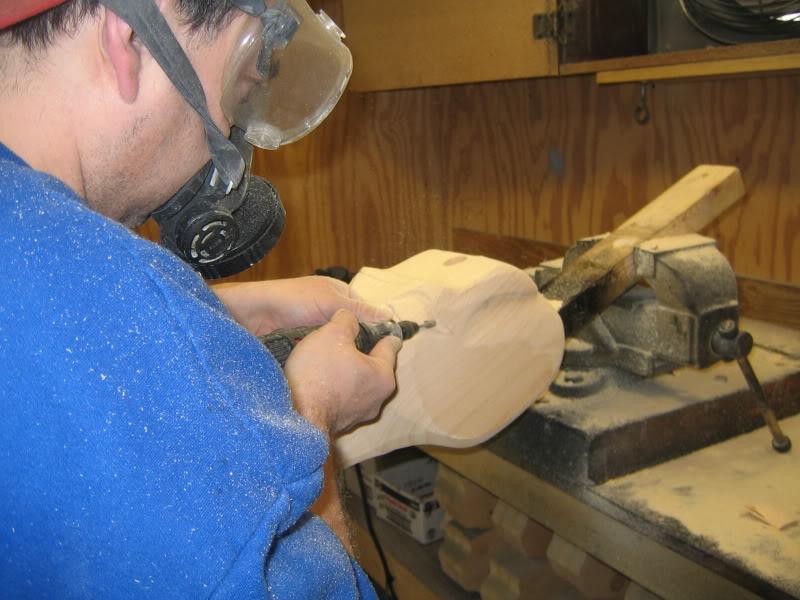
The carving process starts with five pieces of select pine glued together to form a block of wood, in the beginning shape of a horse head.
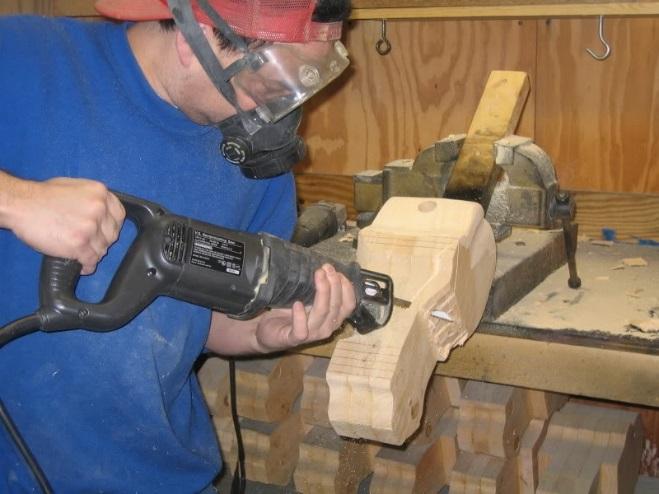
After the heads are glued together, the carving process begins.
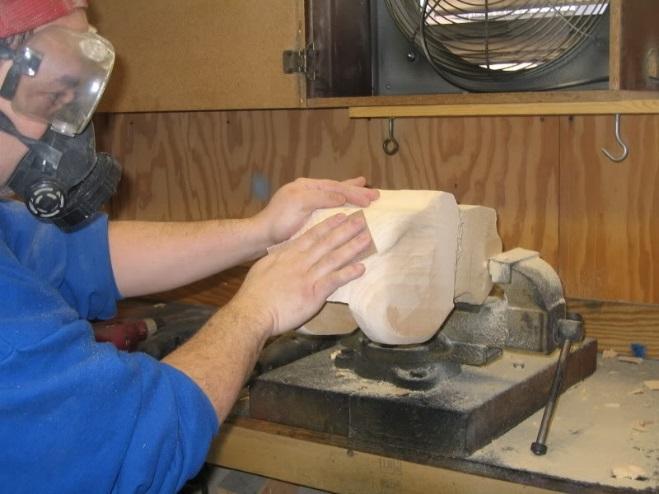
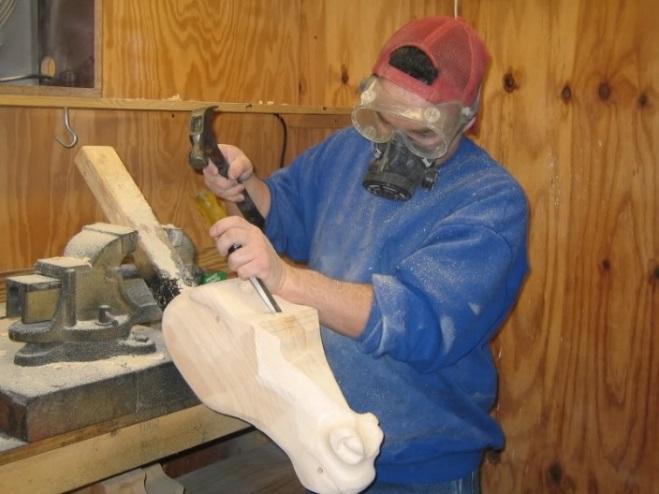
The Classic Model heads take about an hour and a half each to carve.
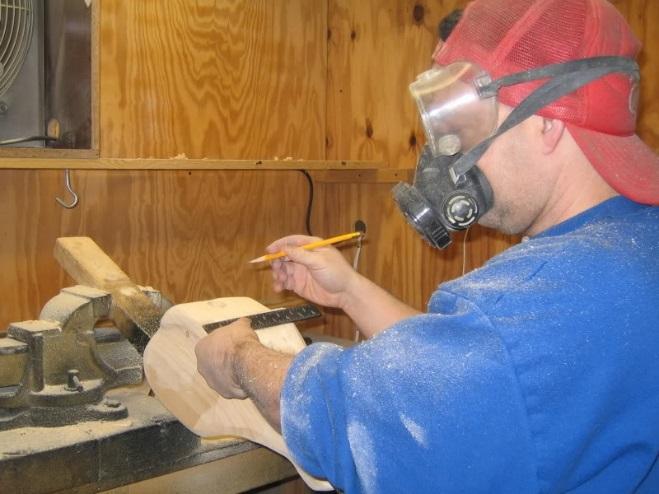
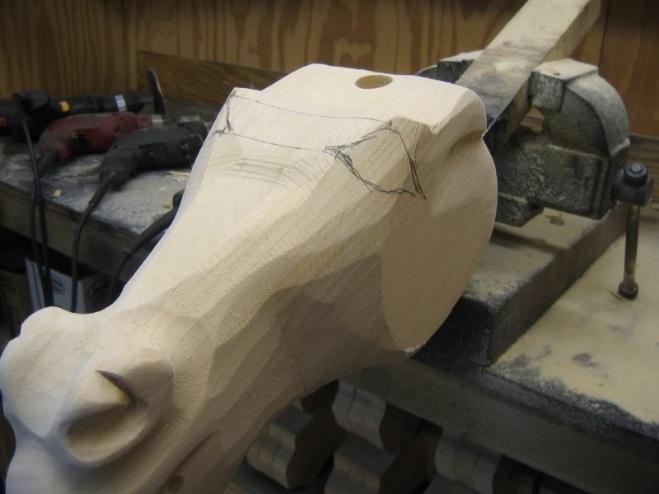
The Elite Model heads on the other hand (shown here), take around 4 hours to carve – and that’s for the carving alone!
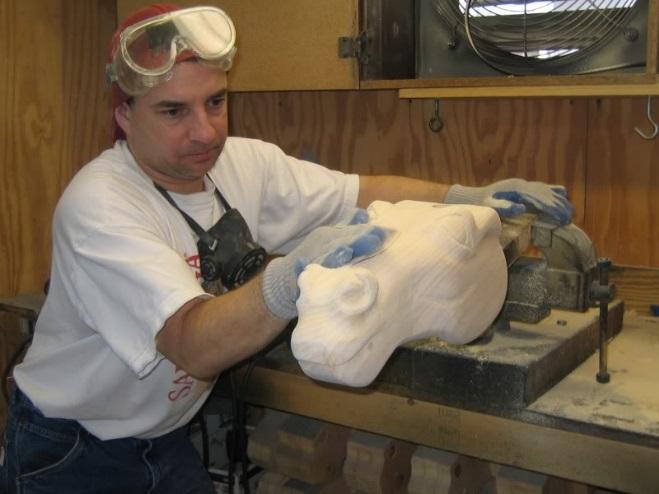
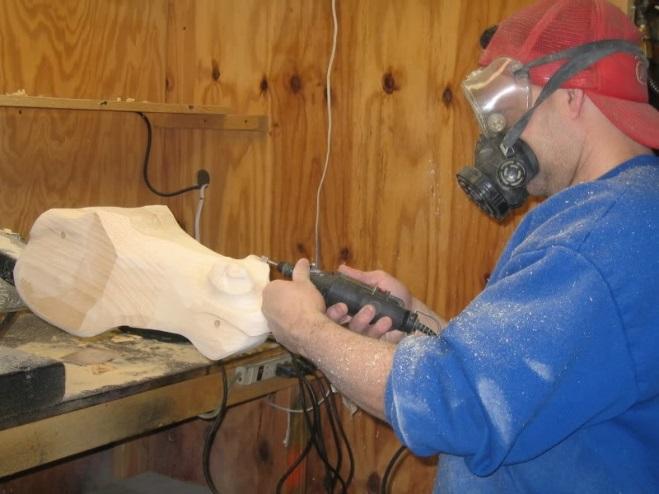
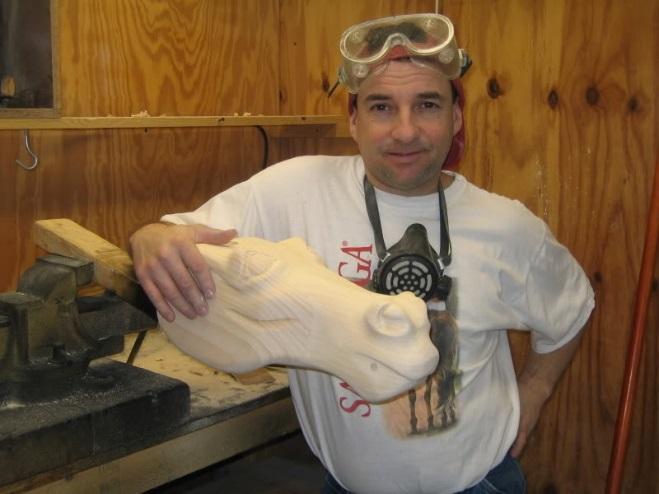
The heads are sanded extensively during the carving process and then again after each coat of urethane is applied.
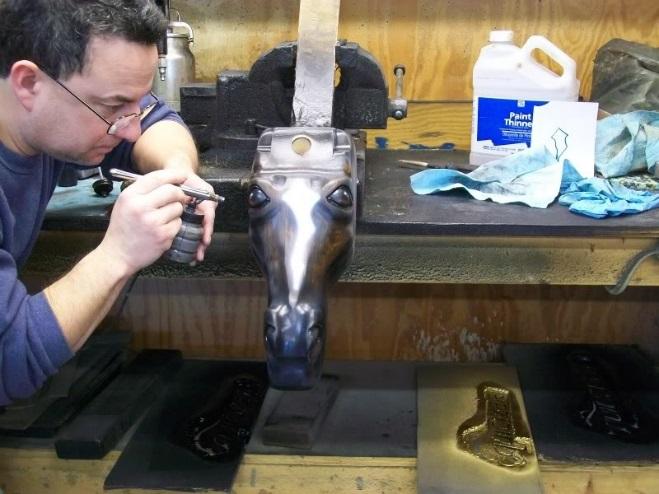
When the painting process begins, each head is first stained, and then multiple coats of urethane are applied in between sanding, with the accents being the last thing to go on before the final coat of urethane is sprayed, all over the course of several days.
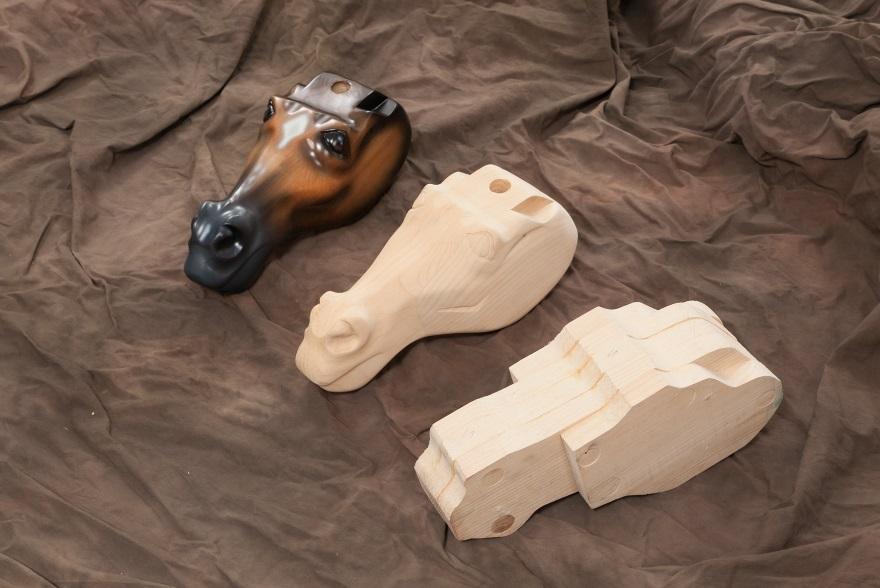
The following photo is a great illustration of the heads at three different stages of the carving/painting process:
Stay tuned for next week’s blog in which we’ll discuss how the main frame of the Equicizer is built and put together!
Click here for The Making of the Equicizer (Part Two): The Building Process
By Kayla Jarvinen
No comments:
Post a Comment